When it comes to car repairs, dealing with a malfunctioning window can be one of the most frustrating experiences. Whether your window is stuck, making strange noises, or simply won’t move, the culprit is often a faulty window regulator. In this step-by-step guide, we’ll walk you through the process of replacing your car’s window regulator, helping you regain control of your windows and enjoy a smoother ride.
Step 1: Gather the Necessary Tools and Materials
Before you begin, make sure you have all the tools and materials required for the job. Here’s a list to get you started:
- Screwdrivers (Phillips and flathead)
- Pliers
- Trim panel removal tool
- Socket and ratchet set
- Replacement window regulator
- Gloves and safety glasses
- Clean, well-lit workspace
Having the right tools on hand will make the process much more manageable and efficient.
Step 2: Prepare Your Work Area
Safety is a top priority when working on your car. Start by parking your vehicle on a level surface and turning off the engine. Remove the car key from the ignition to prevent any accidental mishaps. Additionally, disconnect the car battery to ensure there is no electrical power running to the window.
Step 3: Remove the Door Panel
The door panel is the gateway to your car’s window regulator. Here’s how to remove it:
- Use your trim panel removal tool to gently pry off the door panel, starting from the bottom and working your way up. Be careful not to damage the clips that hold the panel in place.
- Once the panel is loose, disconnect any electrical connectors for window controls and door locks. You may need to use pliers or a screwdriver to release any retaining clips.
- Set the door panel aside in a safe place.
Step 4: Access the Window Regulator
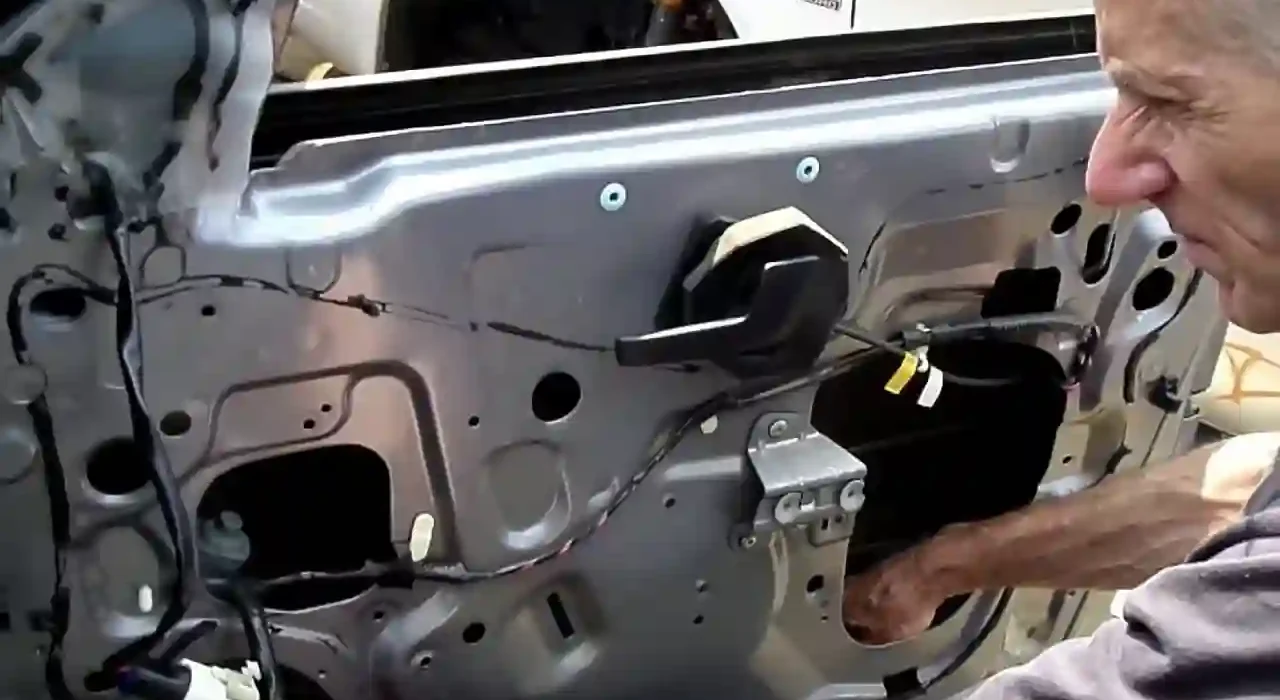
With the door panel removed, you’ll have access to the inner workings of your car door. You may also notice a plastic moisture barrier that you should gently peel back to reveal the window regulator. Take a moment to observe how the regulator is attached and document or take pictures to aid in reassembly later.
Step 5: Remove the Old Regulator
Now, it’s time to remove the old window regulator. Here’s how:
- Locate and remove any bolts or screws that secure the regulator to the door frame. These may vary depending on your vehicle’s make and model, so consult your owner’s manual or repair guide for specific instructions.
- Disconnect any linkage or electrical connections that are attached to the regulator. These connections may involve clips or screws, so proceed carefully to avoid damaging them.
- Support the window glass as you remove the regulator to prevent it from falling unexpectedly.
Step 6: Install the New Regulator
Now that the old regulator is out, it’s time to install the new one:
- Position the new window regulator in the same location where you removed the old one. Make sure it aligns with the mounting holes and that any electrical connections or linkages are correctly attached.
- Tighten the bolts or screws to secure the regulator in place. Be sure not to over-tighten, as this can cause damage.
- Carefully lower the window glass into the regulator’s clamps, ensuring that it fits securely.
Step 7: Test and Fine-Tune
Before you put everything back together, it’s essential to test the new regulator:
- Reconnect the car battery, turn on the ignition, and test the window to ensure it operates smoothly. Check for any unusual noises or issues with movement.
- If the window operates correctly, you’re on the right track. If you encounter problems, such as the window tilting or not moving correctly, you may need to make adjustments to the regulator or the window’s alignment.
Step 8: Reassemble the Door
With the window working correctly, it’s time to put everything back together:
- Begin by reattaching the plastic moisture barrier, ensuring it is properly sealed to prevent water or moisture from entering the door.
- Carefully snap the door panel back into place, making sure all the clips secure it tightly. Reconnect the electrical connectors for window controls and door locks.
Step 9: Final Checks
Once you’ve reassembled the door panel, do one final check to ensure everything is in order:
- Test the window one more time to verify that it operates smoothly and without any issues.
- Listen for any unusual noises or vibrations that might indicate a problem.
- Double-check that all electrical connections and bolts are secure.
Step 10: Enjoy Your Smoothly Functioning Window
Congratulations, you’ve successfully replaced your car’s window regulator! With your window working correctly, you can now enjoy a more comfortable and enjoyable ride.
In conclusion, replacing a window regulator may seem like a daunting task, but with the right tools, materials, and a step-by-step guide like this one, it’s a manageable DIY project. However, if you ever encounter unexpected complications or feel uncomfortable with any step of the process, don’t hesitate to seek professional assistance. Your safety and the proper functioning of your car are paramount, and professionals are always available to help when needed. Happy driving with your smoothly operating window!


