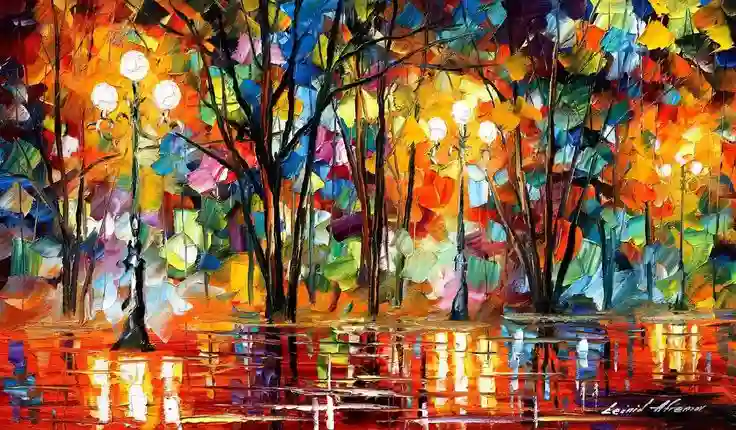
Painting glass and water can be a daunting challenge for artists, as these subjects require a keen understanding of reflection, transparency, and light. Whether you’re painting a crystal-clear glass vase or a tranquil pond, mastering the art of capturing reflections in oil paintings can elevate your work to new heights. In this article, we’ll explore the techniques and approaches that can help you excel in painting glass and water, bringing these intricate subjects to life on your canvas.
Understanding the Principles of Reflection
To paint glass and water realistically, it’s essential to grasp the fundamental principles of reflection. Reflection occurs when light hits a surface and bounces back toward the viewer’s eye. When painting glass and water, consider the following:
- Angle of Incidence: The angle at which light strikes the surface of glass or water determines the angle of reflection. Understanding how angles affect reflections is crucial to achieving accuracy.
- Intensity and Color: Reflections can vary in intensity and color based on the angle and quality of light. Pay attention to the interplay of light and shadow on the reflective surface.
- Distortion: Glass and water can distort the objects they reflect, causing them to appear slightly altered or stretched. These distortions add realism to your paintings.
Materials and Tools
Before you begin painting glass and water, gather the necessary materials and tools:
- Oil Paints: High-quality oil paints in a variety of colors, including translucent and opaque options, are essential.
- Brushes: A range of brushes, including fine detail brushes, flat brushes, and fan brushes, will give you versatility in capturing different textures and details.
- Palette: Use a palette to mix and blend colors effectively.
- Canvas or Surface: Choose a canvas or surface suitable for oil painting, properly prepared with gesso.
- Solvents and Mediums: Mediums such as linseed oil and solvents like turpentine can help with paint application and blending.
Painting Glass
Painting glass involves capturing its transparency, reflective properties, and the distortion of objects behind it. Here’s a step-by-step guide to painting glass:
- Sketch: Begin by sketching the glass object’s outline and any objects it reflects.
- Background: Paint the background behind the glass first. Keep it simple, as it will be seen through the glass.
- Underpainting: Create an underpainting with a base color for the glass, usually a mid-tone. Leave some areas blank for highlights and reflections.
- Reflections: Observe the glass carefully. Identify highlights, shadows, and reflections on its surface. Use a fine detail brush to paint these areas accurately.
- Transparency: To convey transparency, use glazing techniques. Apply thin layers of paint, allowing each layer to dry before adding the next. Build up the color gradually to create the appearance of transparency.
- Edges and Distortions: Pay close attention to the edges of the glass. They may appear slightly distorted. Paint these distortions carefully to maintain realism.
- Finishing Touches: Add final touches, highlights, and details to complete your glass painting.
Painting Water
Water presents its own set of challenges due to its ever-changing nature and reflective surface. Here’s a step-by-step guide to painting water:
- Sketch: Begin by sketching the scene, including any objects on or near the water’s surface.
- Background: Paint the background and sky if applicable. The colors will be reflected in the water.
- Underpainting: Create an underpainting for the water, starting with the surface color. The underpainting should capture the overall mood and color of the water.
- Reflections: Observe the scene for reflections in the water. Use horizontal brush strokes to create these reflections, making sure they match the objects above.
- Ripples and Texture: To convey the texture of water, use a combination of brush strokes. Horizontal strokes create calm water, while small, irregular strokes add ripples and movement.
- Transparency: For areas of the water that are transparent, use glazing techniques to layer colors and achieve the desired transparency.
- Depth: To create the illusion of depth, use cooler and lighter colors for distant water and warmer, darker colors for the foreground.
- Highlights and Details: Add highlights where the light hits the water’s surface and any necessary details to the objects in and around the water.
Practice and Patience
Mastering the art of painting glass and water in oils requires practice and patience. Experiment with different lighting conditions, angles, and types of glass or bodies of water to hone your skills. Don’t be discouraged by initial challenges; each painting is an opportunity to learn and improve. With dedication and attention to detail, you can create stunning, lifelike representations of these complex subjects on your canvas.


